
My wife turned to me and told me she’d gotten a weird message from my aunt that she didn’t know what to do with. It read;
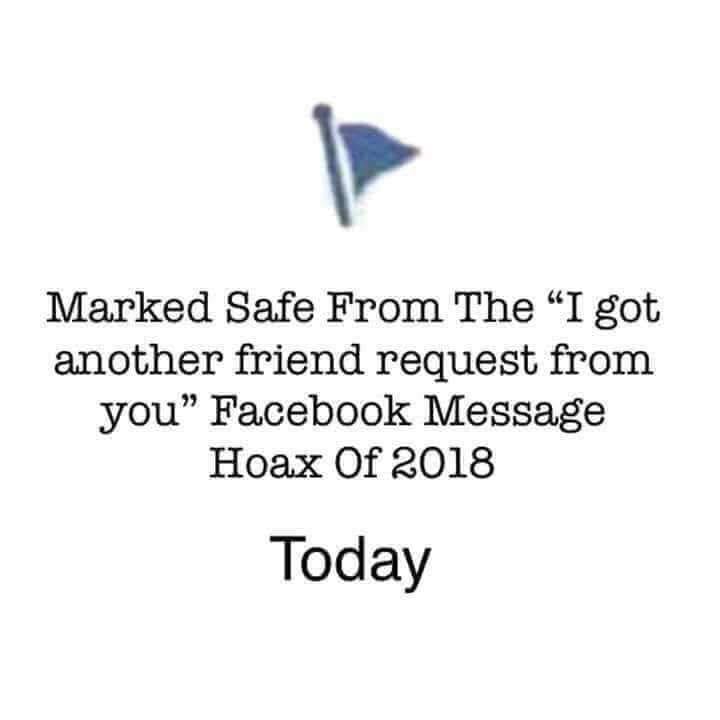
“Hi….I actually got another friend request from you which I ignored so you may want to check your account. Hold your finger on the message until the forward button appears…then hit forward and all the people you want to forward too….I had to do the people individually. PLEASE DO NOT ACCEPT A NEW friendship FROM ME AT THIS TIME.”
You wern’t hacked. It never happened. Your friend didn’t send this and the message is bogus. Don’t do what it says. Don’t forward it, don’t copy and paste, just delete. And while you’re at it, don’t accept new request from people on your friends list already.
If you’re still worried though, change that FB password. Frequent changes and complex passwords are your best defense against this kind of thing!