Problem:
No printers show up in the printer section of control panel. This is a result of the print spooler crashing. if you go in and manually restart the print spooler it runs until you try to do anything related to the printer then crashes again.
Solution:
Usually this is the result of corrupt print drivers (possible virus infection causing the corruption. Make sure to run a quick malware scan). You may need to uninstall print drivers completely – including the registry entries.
If it is a local printer (My Computer), go to the following registry keys and delete the respective entries:
HKEY_LOCAL_MACHINESYSTEMCurrentControlSetControlPrintEnvironments Windows NT x86 DriversVersion-2
HKEY_LOCAL_MACHINESYSTEMCurrentControlSetControlPrintPrinters
If it is a network printer (network printer server or ), go to the following registry keys and delete the respective and entries:
HKEY_CURRENT_USERPrintersConnections
HKEY_LOCAL_MACHINESYSTEMCurrentControlSetControlPrintProviders LanMan Print ServicesServersPrinters
After the registry edit, you need to stop and restart the spooler service. At this point, you’ll be able to reinstall the printer driver correctly.

 Man do I hate this one.
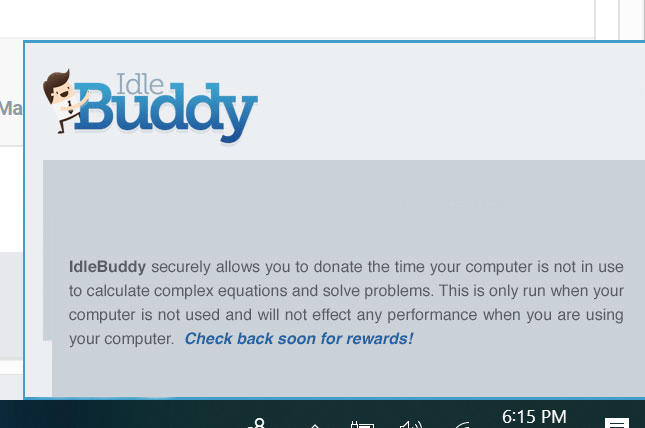 See, here’s the thing; there are applications out there that allow you to share your computers processing power (when you’re not using you PC) with other machines to help solve important problems.
  infiltration, adware-type applications deliver intrusive advertisements and collect information relating to users’ Internet browsing activity.